 Pervasive ODBC Client Interface
Note: If you get a "Failed to create database on remote server. The communications session with the remote server is no longer valid" error while following these instructions, see the Installation and Setup Frequently Asked Questions topic.
Step 2. The setup dialog will appear next. Type something descriptive for the Data Source Name (such as "Sage 300 Data"), then click the Create button (in the Database box). Type in the address of the server where the Sage 300 data is located and select the appropriate Transport Hint (we suggest you get help from your Sage Qualified Installer for this step).
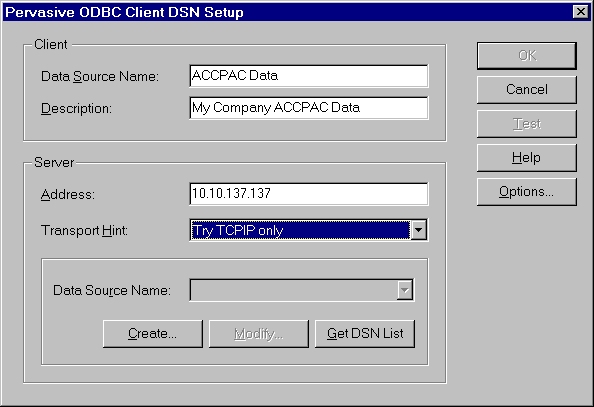
Step 3. Click the Get DSN List button. If a list of data source names appears in the Data Source Name option just above this button, select the desired data source, then go to step 13. If the Data Source Name option appears greyed out, go to Step 7.
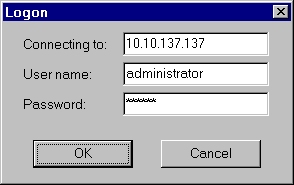
Step 4. Click the Create button. You will be asked to log onto the server. Specify the administrator name and password.
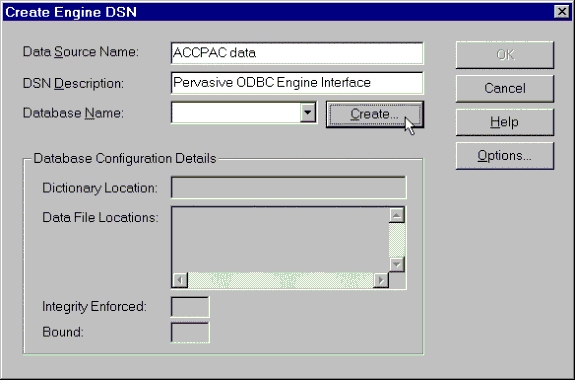
Step 5. The Create Engine DSN dialog appears. Type something descriptive for the database name (it can be the same as the data source name you entered in step 5), then click the Create button.
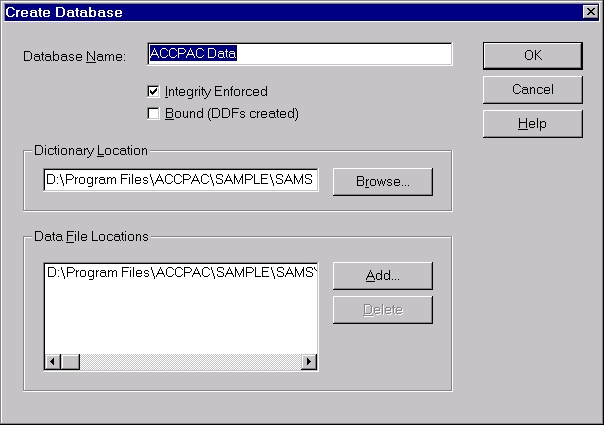
Step 6. The Create Database dialog appears. Type something descriptive for the database name (it can be the same as the data source name you entered in step 5).
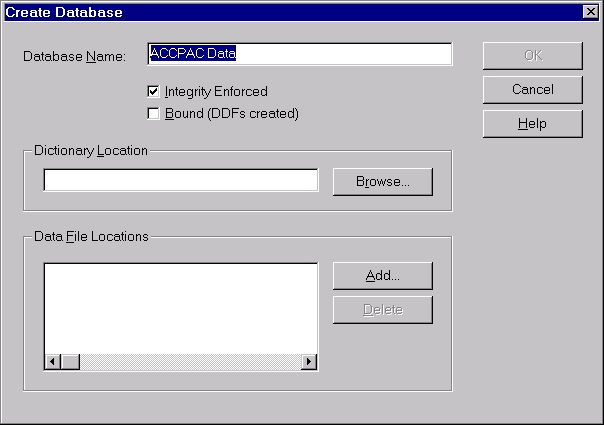
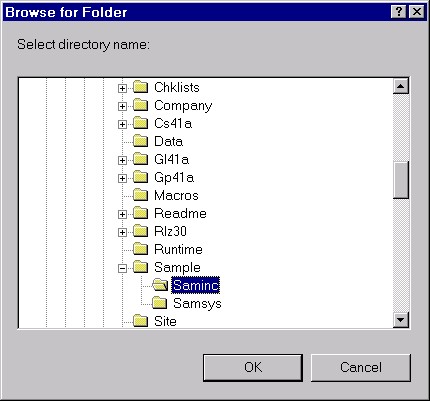
Step 7. Click the Browse button (in the Dictionary Location box). The Browse for Folder dialog appears next. Navigate (using normal Windows Explorer navigation techniques) to the folder containing your Sage 300 data. Select that folder and click the OK button.
Step 8. The Create Database dialog should now look something like the following. Click the OK button.
Step 9. Click the OK button in the Create Engine DSN dialog.
Step 10. Click the Test button in the Pervasive ODBC Client DSN Setup dialog to ensure everything works, then click the OK button.
Step 11. If you have accounting data for more than one company in Sage 300 and want to report on them too, set up another ODBC data source just as you did this one by going back to Step 1. When you're finished setting up data sources, click on the OK button in the ODBC Data Source Administrator dialog.
© Stonefield Software Inc., 2019 • Updated: 11/05/18
Comment or report problem with topic