 Label Object Properties
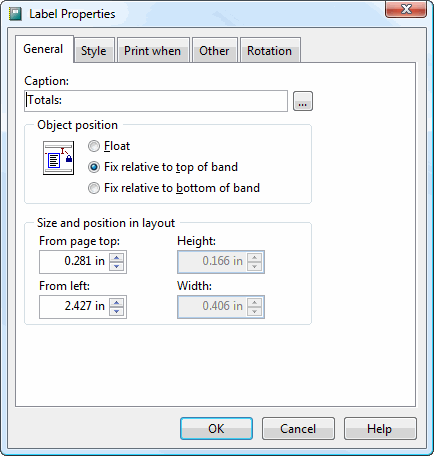
The General page of the Label Properties dialog has the following options:
Caption: the text to display
Object position: it's possible the height of a band can change when it's printed. For example, the detail band may only appear as one line high in the Advanced Report Designer, but if a field's Stretch with overflow setting is turned on (see Field Object Properties), that field may take more than one line if it contains a lot of information, and therefore so does the detail band. The object position settings allow you to specify what happens to objects when the band they're in changes height. The choices are:
Float: specifies that the selected object moves vertically relative to the size of objects directly above it.
Fix relative to top of band: as the band changes height, this object maintains its position relative to the top of the band.
Fix relative to bottom of band: as the band changes height, this object maintains its position relative to the bottom of the band.
Size and position in layout: rather than trying to precisely size or position an object using the mouse or arrow keys, you can specify the dimensions and location of the object using these controls.
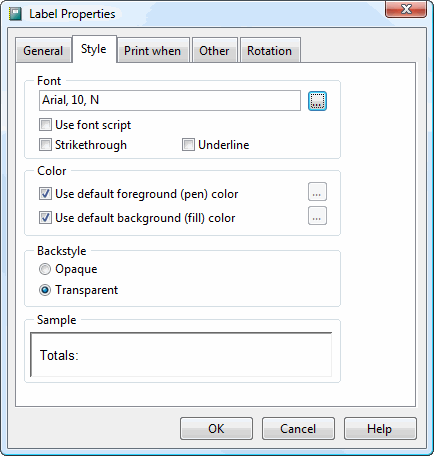
The Style page of the Label Properties dialog has the following options:
Font: allows you to select the font name, style, size, and script for the label.
Use font script: turn this option on to use the script selected in the font dialog for the label. This is only necessary in languages that use something other than Western script, such as Hebrew, Arabic, or Cyrillic. If this is turned on, you will see a number after the font name, size, and style indicating the font charset, such as 161 for Greek.
Strikethrough: turn this setting on to apply the strikethrough style to the label.
Underline: turn this setting on to underline the text in the label.
Use default foreground (pen) color: turn this setting on to use black text for the label. If you turn this setting off, the button beside it is enabled so you can select the color to use.
Use default background (fill) color: turn this setting on to use a white background for the label. If you turn this setting off, the button beside it is enabled so you can select the color to use. Note that when you change the background color of a label, you must also change the Backstyle setting (see the next item) to Opaque or the color won't show up on the report even though you see it in the Advanced Report Designer.
Backstyle: this setting determines whether objects behind this one can be seen (the transparent setting) or are covered by this object (the opaque setting).
Sample: shows an example of what the text looks like based on the settings you've selected.
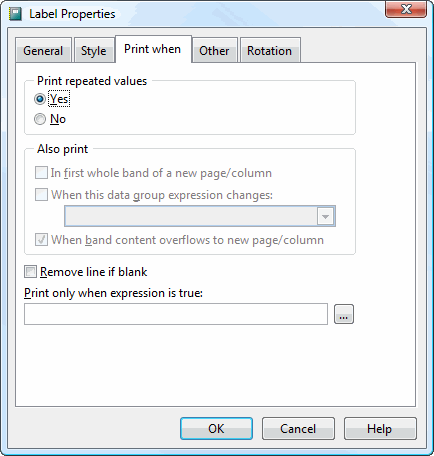
The Print When page allows you to conditionally print an object so it can be ignored under some conditions. This page has the following options:
Print repeated values: setting this to No means the object won't print unless one or both of the In first whole band of a new page/column and When band content overflows to new page/column settings are turned on.
In first whole band of a new page/column: prints the object in the first band of a new page or column that isn't an overflow from a previous page or column. This option is automatically turned on (and disabled) if you choose Yes for Print repeated values, and optional if you choose No for Print repeated values.
When this data group expression changes: prints the object when the value of the chosen group changes. This option is available only if a group exists and Print repeated values is No. Choose a group from the list beside this option.
When band content overflows to new page/column: prints the object when the band overflows to a new page or column. This option is available only if Print repeated values is No.
Remove line if blank: removes the entire line of the report the object is on if the object is blank and no other object is on the same line.
Print only when expression is true: an expression to be evaluated before the object prints. If the expression is true, the object is printed; otherwise, it isn't printed. All other options in this dialog except Remove line if blank are disabled if you include an expression. Click the Expression Builder button to display the Expression Builder.
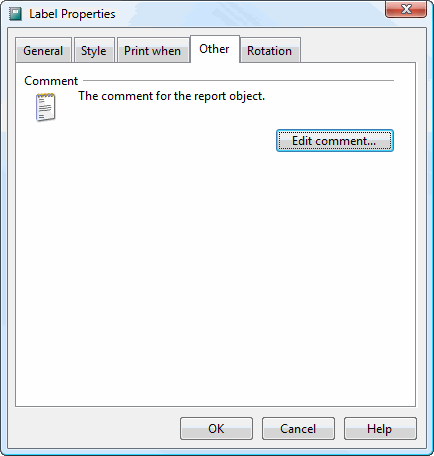
The Other page displays a comment about the object. To change the comment, click the Edit comment button.
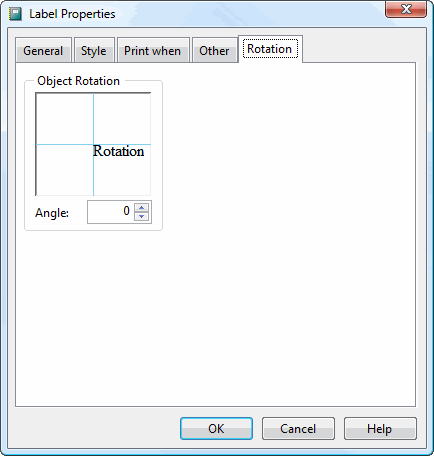
The Rotation page allows you to rotate an object on the report by specifying the rotation angle as a clockwise value (for example, an angle of 90 rotates the object 90 degrees clockwise). A representation of the rotation is shown so you can tell whether you have the desired angle. Note the object doesn't appear rotated in the Advanced Report Designer, but only when the report is run. Also note that using rotation significantly increases report generation time, so use it only when required.
© Stonefield Software Inc., 2025 • Updated: 06/07/16
Comment or report problem with topic