 Setting up Reporting4Act!
The first time you run Reporting4Act!, you are asked where Reporting4Act! puts its files.
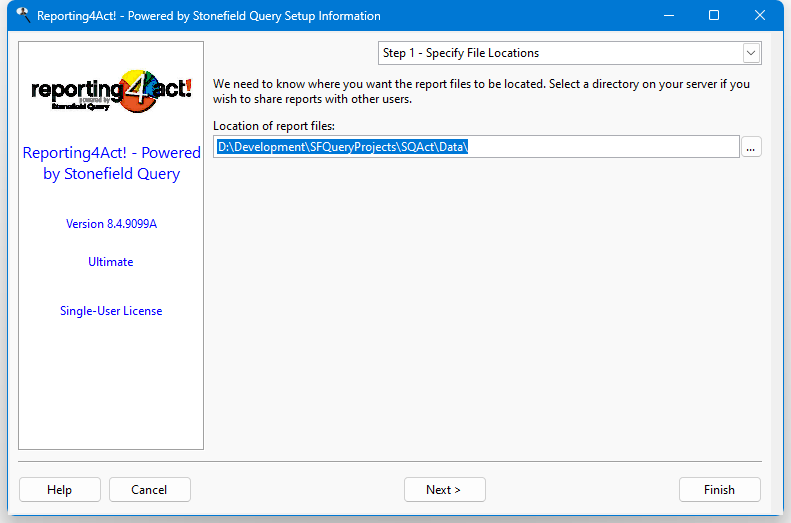
You can specify any directory for the Reporting4Act! files, but we recommend a directory on a server; that way, you can share reports with other users.
After specifying the settings in Step 1, click the Next button.
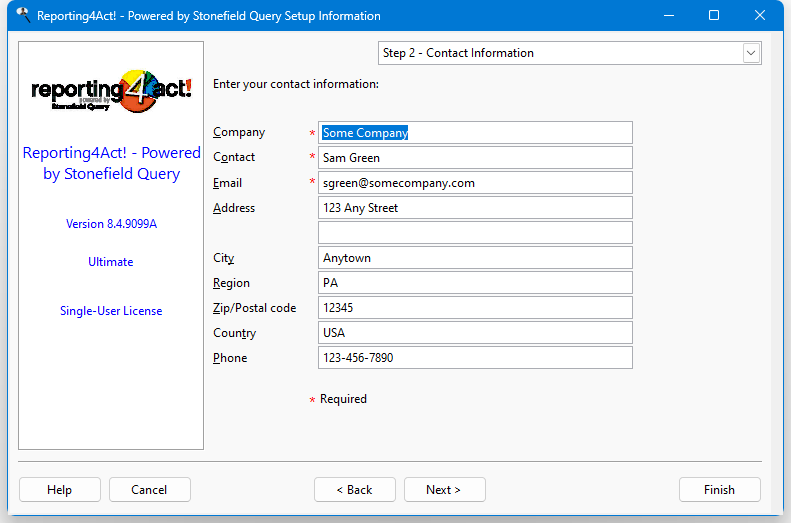
The options in the Contact Information page are used as contact information when you send an error report to us. The options are self-explanatory. The ones with a red * are required.
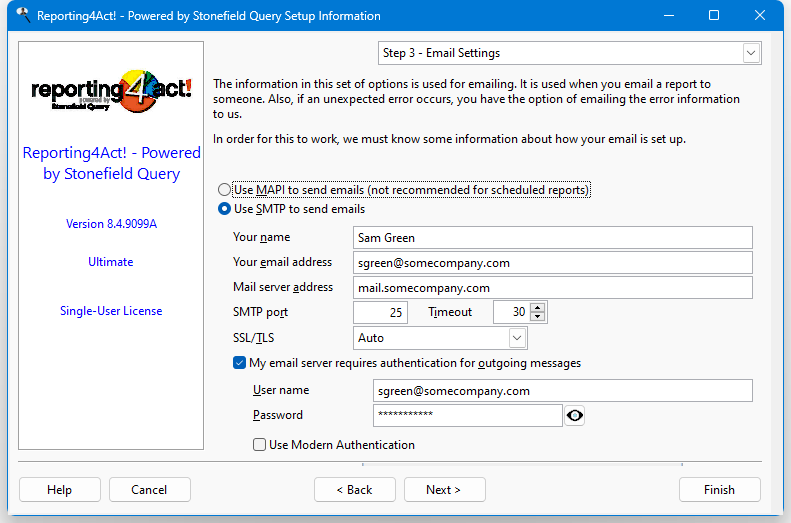
The options in Step 3 are used when you want to email a report to someone or if an unexpected error occurs in Reporting4Act!, in which case you have an option of emailing an error report to us so we can resolve the problem. The options are the same as in the Email page of the Options dialog.
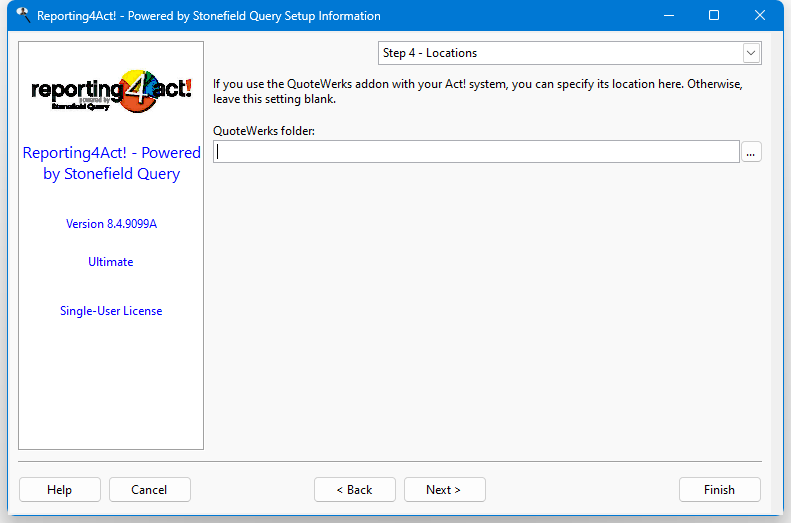
In Step 4, you are able to specify the location of your QuoteWerks installation. If you do not use QuoteWerks, leave this setting blank.
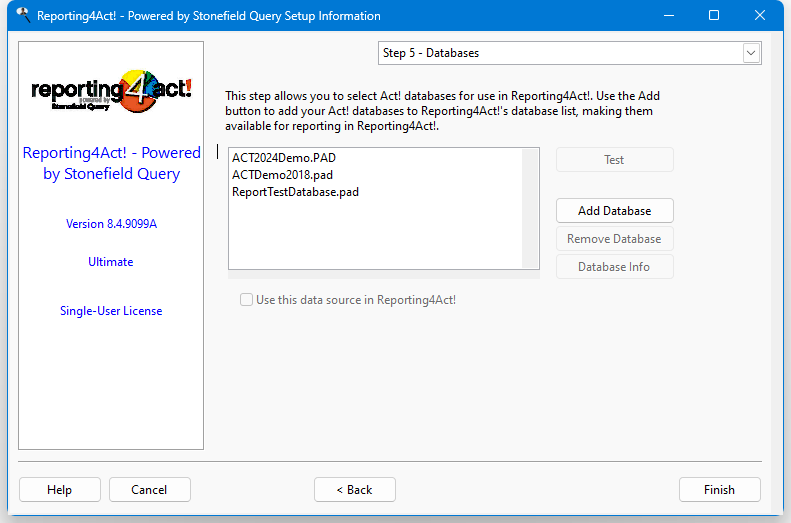
In the final setup step, you are able to tell Reporting4Act! about the Act! databases you'd like to have available for reporting. The databases that Reporting4Act! already knows about are listed, and there are several buttons for making changes to the list.
Test: This button will perform a connection test using the currently selected database. If there is some problem with the connection, information about the problem will be displayed.
Add Database: This button allows you to add a new database to the list.
Remove Database: This button will delete the selected database from Reporting4Act!'s list. This has no effect on the database itself; the database is simply removed from Reporting4Act!'s list of databases, meaning that it will no longer be available for reporting. A database that has been removed can always be added again. Note that there is also the Use this data source option as explained below.
Database Info: This button will simply show information about the currently selected database, including its file location.
Use this data source in Reporting4Act!: This option allows you to set which databases in the list are "active" in Reporting4Act!. If you turn off this checkbox, then the selected database will no longer be available for reporting in Reporting4Act!. However, it will still be included in this database list on Reporting4Act!'s Setup and Options screen. To make the database available in Reporting4Act! again, you can simply recheck this option.
After you've closed this dialog, it doesn't normally come up again. If you need to change any settings, see the Configuring Reporting4Act! help topic. If you want to force the dialog to appear again, add an Other section to SFQuery.ini and create an Action entry under that section with a value of Setup. For example:
[Other]
Action=Setup
© Keystroke.ca, 2025 • Updated: 11/30/21
Comment or report problem with topic